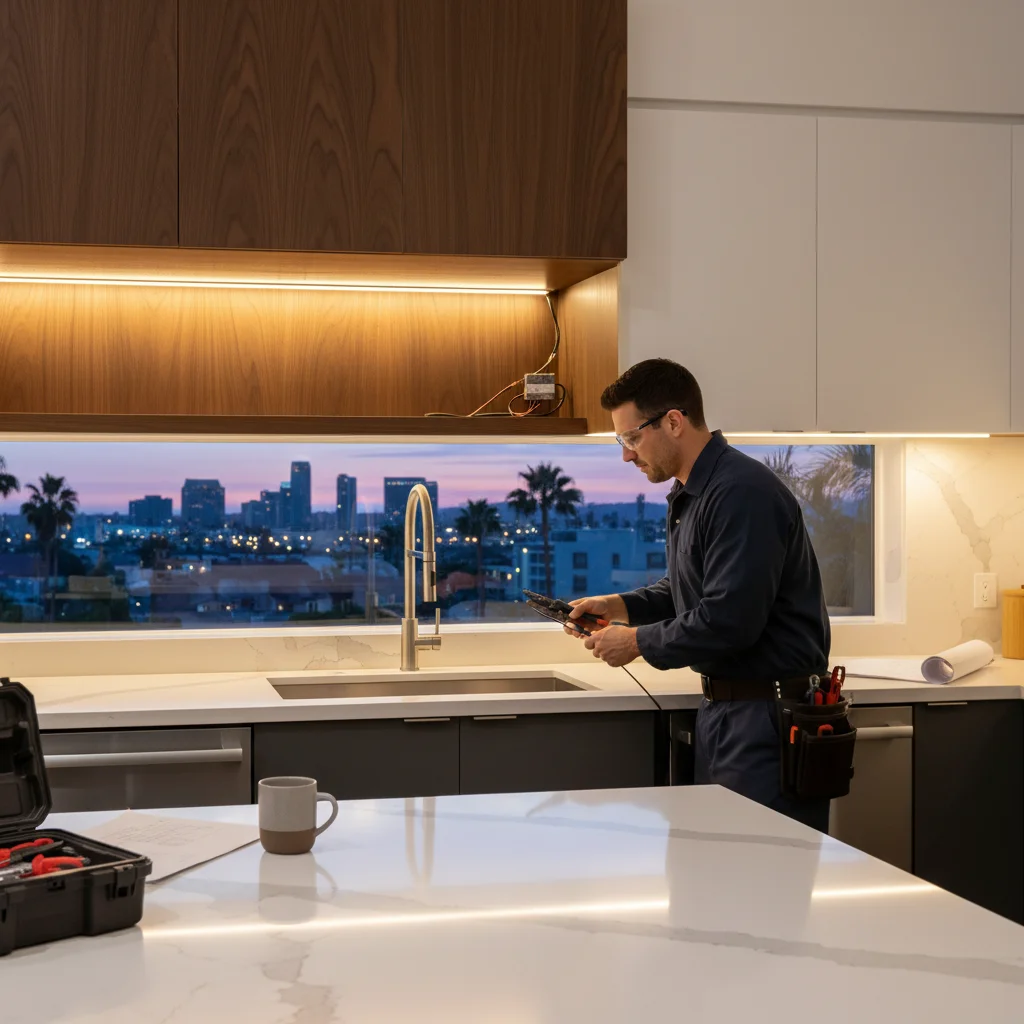
Under-cabinet lighting is one of the most transformative upgrades you can make to your kitchen. It turns dark countertop corners into bright, functional workspaces and adds a layer of warmth and dimension that makes the whole room feel more complete. If you’re planning a kitchen remodel in San Diego, getting the lighting details right from the start is key to a high-end result.
TL;DR
- Hardwired LED strip lighting is the right choice for any kitchen remodel — completely hidden wiring, dimmer control, and no battery hassles.
- 3000K color temperature is the most versatile for San Diego kitchens, complementing both warm wood tones and cool white or gray finishes.
- Professional installation in San Diego typically runs $800-$2,500 depending on linear footage, wiring complexity, and whether walls are already open.
- LED drivers must be paired with an Electronic Low Voltage (ELV) dimmer — mismatched dimmers cause flickering and buzzing.
- Plan driver location and switch placement with your electrician before drywall closes — retrofitting later adds significant labor cost.
Hardwired vs. plug-in vs. battery LED strips
When you start looking at under-cabinet lighting, you’ll find three main types. Each has its place, but for a kitchen remodel, one is the clear winner.
Battery-powered: These are typically small, self-contained “puck” lights or short strips that you stick on with adhesive. They’re inexpensive and require no wiring. The downside is significant: they’re not very bright, you’ll be changing batteries constantly, and they don’t provide the continuous, even light that makes a kitchen look professionally designed. They’re best for a dark closet or a temporary fix, not a permanent kitchen solution.
Plug-in: Plug-in kits are a step up. They offer brighter, more consistent light and you don’t have to worry about batteries. However, you’ll have a visible wire running from the end of your cabinet run to the nearest wall outlet. This often means drilling a hole in your backsplash or having a cord draped across your counter, which can spoil the clean look of a new kitchen. It’s a decent option for a simple DIY upgrade in an existing kitchen, but not ideal for a full remodel where you want a smooth look.
Hardwired: This is the professional standard and the best choice for any remodel. Hardwired under cabinet LED strip lighting is wired directly into your home’s electrical system and controlled by a wall switch, often with a dimmer. The wiring is completely hidden within the walls and cabinets for a clean, built-in appearance. It provides the best quality light, superior control, and adds real value to your home. During a remodel, when walls are often open anyway, it’s the most logical and effective time to plan for a hardwired system.
Color temperature: 2700K vs. 3000K vs. 4000K for kitchens
Choosing the right color temperature is just as important as the light fixture itself. Measured in Kelvin (K), color temperature determines whether the light feels warm and cozy or cool and energizing. For kitchens, the debate usually comes down to three common options.
-
2700K (Warm White): This is the color of a traditional incandescent bulb. It’s very warm, yellowish, and inviting. 2700K is great for creating a cozy, relaxed atmosphere. It works well in traditional kitchens with warm wood cabinets and earth-toned countertops. However, it can make some modern, cool-toned materials (like a pure white quartz or gray backsplash) look a bit muddy or yellow.
-
3000K (Soft White): This is the most popular choice for San Diego kitchens today. It’s still on the warm side of the spectrum but has a cleaner, more neutral white light than 2700K. It renders colors accurately without feeling sterile or overly blue. 3000K is incredibly versatile, complementing both warm wood tones and cool, modern finishes like stainless steel appliances and white cabinetry. It’s a safe, beautiful bet for most designs.
-
4000K (Cool White): This light is noticeably crisper and has a slight blueish tint. It’s often used in commercial settings like offices or garages because it’s very bright and energizing, which is great for task-oriented spaces. In a residential kitchen, 4000K can feel a bit clinical or harsh, especially in the evening. It can work in ultra-modern, minimalist kitchens with glossy white or gray surfaces, but for most homes, 3000K provides a better balance of task lighting and ambiance.
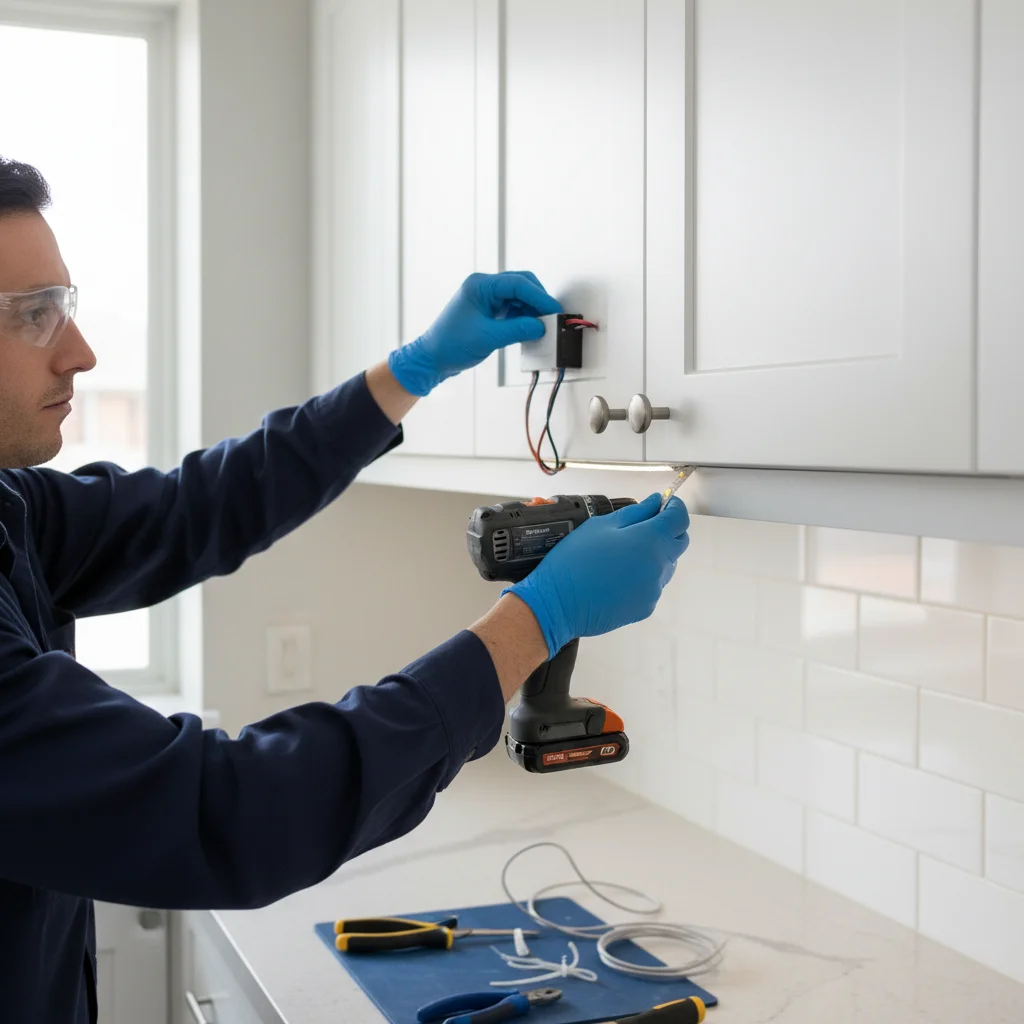
How to hide the wiring without tearing out cabinets
The magic of hardwired under-cabinet lighting is that you don’t see the wires. Achieving this clean look, especially in an existing kitchen, requires skill and planning. A licensed electrician has several techniques to route wires invisibly.
First, the power source is identified. Often, we can tap into an existing circuit, like the one for your small appliance outlets or a dedicated lighting circuit. The wire is then run from the switch location up into the attic or down into the crawlspace.
From there, we fish the wire down inside the wall behind the cabinets. A small hole is drilled at the bottom of the wall, just behind where the cabinet will sit, and another small hole is drilled through the back of the cabinet to pull the wire through. For a run of multiple cabinets, we can drill small, discreet holes in the cabinet stiles (the vertical frame pieces) to pass the low-voltage wire from one cabinet to the next.
The LED strips themselves are very low-profile and are typically installed at the front edge of the cabinet underside, hidden behind the bottom lip of the cabinet’s face frame. This placement ensures the light shines directly down and back onto the countertop and backsplash, not out into your eyes. For frameless European-style cabinets, we can add a small piece of light rail molding to the bottom of the cabinet to achieve the same effect. The result is a smooth installation where the light source is invisible, and only the beautiful, even glow on your countertops is seen.
Dimmer compatibility and driver placement
Modern LED strip lighting is a low-voltage system. This means it can’t be connected directly to the 120-volt power in your walls. It requires a component called a “driver” (or transformer) to step the voltage down, typically to 12V or 24V DC. The driver is a critical piece of the system, and its placement and compatibility with your dimmer switch are essential for proper function.
Driver Placement: The driver needs to be accessible for any future service, but you don’t want it cluttering up your kitchen. Common hiding spots include:
- On top of the wall cabinets, hidden from view.
- Inside an adjacent pantry or appliance garage cabinet.
- In the basement or crawlspace directly below the kitchen.
- In a nearby mechanical closet.
Planning this location with your electrician during the design phase is crucial. We need to ensure there’s proper ventilation, as drivers can generate a small amount of heat.
Dimmer Compatibility: Not all dimmer switches work with all LED drivers. Using an incompatible dimmer can lead to flickering, buzzing, or a limited dimming range. The gold standard for modern LED systems is an Electronic Low Voltage (ELV) dimmer. These are designed specifically to work with the electronic drivers that power LED strips. Always ensure the driver you select is listed as dimmable and pair it with a recommended ELV dimmer for smooth, flicker-free performance from 100% brightness down to a soft glow.
Cost to install in a San Diego kitchen
The cost to have professional, hardwired under-cabinet lighting installed in a San Diego kitchen typically ranges from $800 to $2,500. The final price depends on several factors:
- Linear Footage: The primary cost driver is the total length of lighting you need. A small galley kitchen will cost less than a large kitchen with extensive cabinetry.
- System Quality: Professional-grade LED tape and drivers cost more than consumer-grade kits but offer better light quality, color consistency, and longevity.
- Wiring Complexity: The cost will be lower if your walls are open during a remodel, making it easy to run new wires. In a finished kitchen, the labor to fish wires through walls without causing damage will be higher. The distance to a suitable power source also plays a role.
- Switching and Controls: A single on/off switch is the most basic setup. Adding a high-quality ELV dimmer or integrating the lights into a smart home system will increase the cost.
- Labor: Hiring a licensed and insured electrician ensures the work is done safely and to code. Labor rates in San Diego County are a significant part of the total project cost.
While it’s a real investment, professionally installed lighting is a durable upgrade that enhances daily usability and adds significant aesthetic and resale value to your home. This is a key part of our comprehensive lighting installation services.
What to spec before your remodel starts
Planning for under-cabinet lighting early in your remodel process saves time, money, and headaches. Before your drywall goes up, you should have these details finalized with your electrician and general contractor.
- Confirm Locations: Mark exactly which cabinets will get lighting. This includes any floating shelves or glass-front cabinets you want to accent.
- Choose Your Color Temperature: Decide between 2700K, 3000K, or 4000K. It helps to have samples of your countertop, backsplash, and cabinet colors on hand to see how the light interacts with them.
- Plan Switch Placement: Where do you want to control the lights from? The most common spot is in a multi-gang switch box near the main kitchen entrance, alongside the switches for your other lighting layers. Consider a three-way switch if you have multiple entrances.
- Decide on the Driver Location: Talk to your electrician about the best accessible, hidden spot for the LED driver. This decision might influence cabinet or pantry design.
- Coordinate with Other Lighting: Think of your under-cabinet lights as one layer in a complete design. Plan them in conjunction with your other fixtures, like the recessed lighting installation that provides overall ambient light and the pendant fixtures over the island. Our guide to kitchen island lighting design covers pendant sizing, spacing, and wiring that pairs with under-cabinet strips in the same remodel.
Getting these specifications locked in early allows your electrician to run all the necessary wiring while the walls are open, which is far more efficient and less expensive than trying to retrofit it later.
Frequently asked questions
How much does hardwired under-cabinet lighting cost in San Diego?
Professional installation of hardwired LED under-cabinet lighting in a San Diego kitchen typically runs $800-$2,500. The main cost drivers are linear footage (how many cabinets you’re lighting), wiring accessibility (open walls during a remodel versus fishing wire through finished construction), and the quality of the LED system and driver. Getting walls open during a remodel saves significant labor cost compared to retrofitting later.
What color temperature is best for kitchen under-cabinet lighting?
3000K (soft white) is the most popular and versatile choice for San Diego kitchens. It’s warm enough to feel inviting but neutral enough to render colors accurately across both warm wood tones and cool white or gray surfaces. 2700K works well in traditional kitchens with earth tones but can look yellowish against modern finishes. 4000K is too clinical for most residential kitchens.
Can I connect under-cabinet LED strips to a standard dimmer?
Not all dimmers are compatible with LED drivers. Most LED strip systems run on a 12V or 24V driver, and those drivers require an Electronic Low Voltage (ELV) dimmer for smooth, flicker-free performance. Using a standard incandescent dimmer with an LED driver causes flickering, buzzing, or a limited dimming range. Always confirm the driver manufacturer’s recommended dimmer before purchasing.
Do I need a permit to install under-cabinet lighting in San Diego?
If the work involves tapping into an existing circuit at a junction box or switch box, it typically doesn’t require a separate permit. If a new circuit is being run from your electrical panel, a permit is required. Your electrician will know which scope applies to your project and handle permit coordination as needed.
When to call us
Properly wiring a hardwired lighting system involves working with your home’s 120V electrical circuits, which should only be handled by a qualified professional. A licensed electrician will ensure the new wiring is safely tied into a circuit that can handle the load, all connections are secure, and the entire system is installed to meet National Electrical Code (NEC) standards.
Call us at (858) 988-5580 for a same-day estimate.