You’ve picked the countertop, the cabinet hardware, and the paint color. Now you’re staring at your kitchen island wondering exactly where the pendants go, how low they hang, and whether your ceiling even has the wiring to support them. These are the decisions that make or break the whole look. Getting them wrong means calling an electrician twice.
TL;DR
- Hang pendants so the bottom of the fixture sits 30 to 36 inches above the countertop surface; going lower creates glare and head clearance issues.
- For two pendants, space them evenly at the one-third marks on the island; for three, divide the island into four equal sections.
- A full three-pendant install with new wiring, a dedicated switch, and a permit runs $900 to $1,500 in San Diego County as of 2026.
- Wiring new junction boxes where none exists requires a permit in California; an unlicensed worker skipping the permit is a red flag.
- LED dimmers require a compatibility-tested bulb and dimmer pairing to avoid flicker; trailing-edge (ELV) dimmers work better with most LED drivers.
How to size pendants to your island length
The first mistake homeowners make is buying pendants that are too small. A single 6-inch globe over a 7-foot island looks like a dropped earring.
The general rule: the combined visual width of your pendants should span roughly two-thirds of the island’s length. So on a 72-inch island, you’re targeting about 48 inches of pendant coverage end to end.
For individual fixture diameter, match the pendant width to the island width as a rough gut check. A 36-inch-wide island looks right with pendants in the 10-to-14-inch range. A 42-inch-wide island can handle 14-to-18-inch fixtures without crowding. Go smaller only if you’re running a linear row of mini pendants. In that case, three or four of them still need to cover that two-thirds span.
Shade shape matters too. Drum shades spread light wide, which is good for task lighting over a prep surface. Bell and cone shades direct light downward, which looks dramatic but leaves the island edges dim. If you do a lot of prep work on your island, lean toward open-bottom or drum styles rated for at least 40–60 watts equivalent in LED.
Ceiling height affects scale as well. Standard 9-foot ceilings call for smaller, lower-profile fixtures. If you’re working with 10- or 12-foot vaulted ceilings, common in newer construction in communities like Scripps Ranch or Rancho Bernardo, you have room for larger, statement-style pendants without the kitchen feeling heavy.
Hanging height: counter-to-bottom-of-fixture rules
This is the measurement most people get wrong, and it’s the one you can’t fix after the electrician leaves without re-pulling wire.
The standard rule for kitchen island pendants: hang the bottom of the fixture 30 to 36 inches above the countertop surface. For a standard 36-inch counter, that puts the bottom of the pendant at roughly 66 to 72 inches off the finished floor.
Thirty inches is the minimum. Go lower and taller members of the household will bump into the fixture, and the glare at eye level becomes a real problem. Thirty-six inches is the maximum for focused task lighting. Beyond that, the pendants start to lose their purpose and float disconnected from the surface below.
If you have an eating overhang on your island, a breakfast bar where people sit on stools, account for seated eye level. A pendant that hangs at 66 inches above the floor is fine for a prep zone but can create glare for someone sitting at 44 inches. In that case, push to 34 to 36 inches above the counter and choose a shade that shields the bulb from direct sightlines.
Adjustable-cord pendants give you flexibility during the install. Most come with 5 to 6 feet of cord or rod that you trim or loop at the canopy. If you’re not sure about final height, leave extra cord in the canopy during rough-in. You can always shorten it, but you can’t add what you cut.
Spacing two vs. three vs. linear pendants
Island length drives the quantity decision more than anything else.
Two pendants work well on islands between 48 and 60 inches long. Space them evenly, dividing the island into thirds, so each pendant sits at the one-third mark from each end. On a 54-inch island, that’s 18 inches from each end, with 18 inches between them.
Three pendants are the classic choice for islands 60 to 84 inches long. Divide the island into four equal sections and hang a pendant at each of the three dividing points. On a 72-inch island: 18 inches from each end, with 18 inches between each fixture. Keep consistent spacing. Uneven gaps look accidental, not designed.
Linear pendants or a single bar fixture suit islands longer than 84 inches, or galley-style layouts where multiple individual fixtures would feel cluttered. A 48-inch linear pendant centered over an 8-foot island covers the span without overwhelming the ceiling.
Whatever the count, keep pendants centered side-to-side over the island, not centered in the room. The island is the reference point.
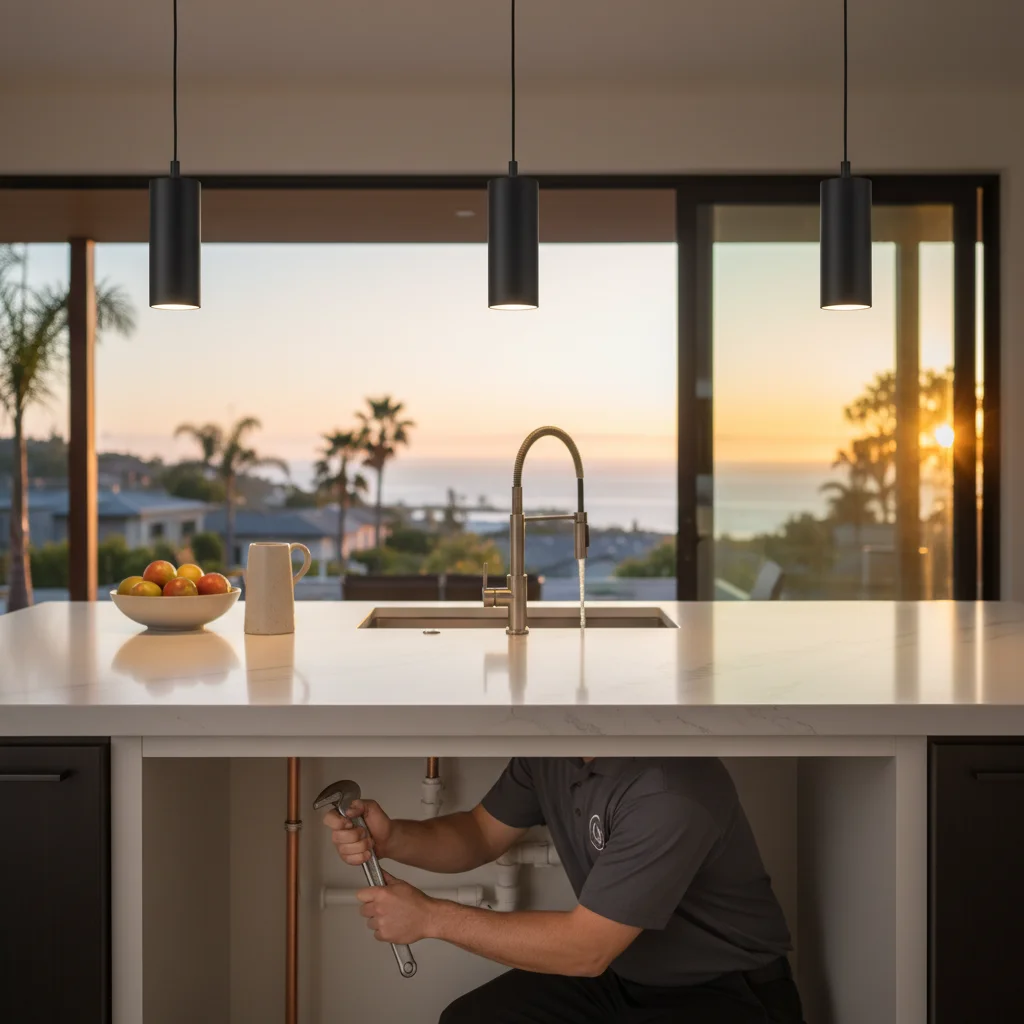
Wiring a junction box where there isn’t one
This is the scenario we run into constantly in older San Diego homes: craftsman bungalows in North Park, ranch-style houses in El Cajon, mid-century builds in Mission Hills. The kitchen ceiling has nothing above the island. No box, no wire, no conduit stub. Just drywall.
Here’s what that job actually involves.
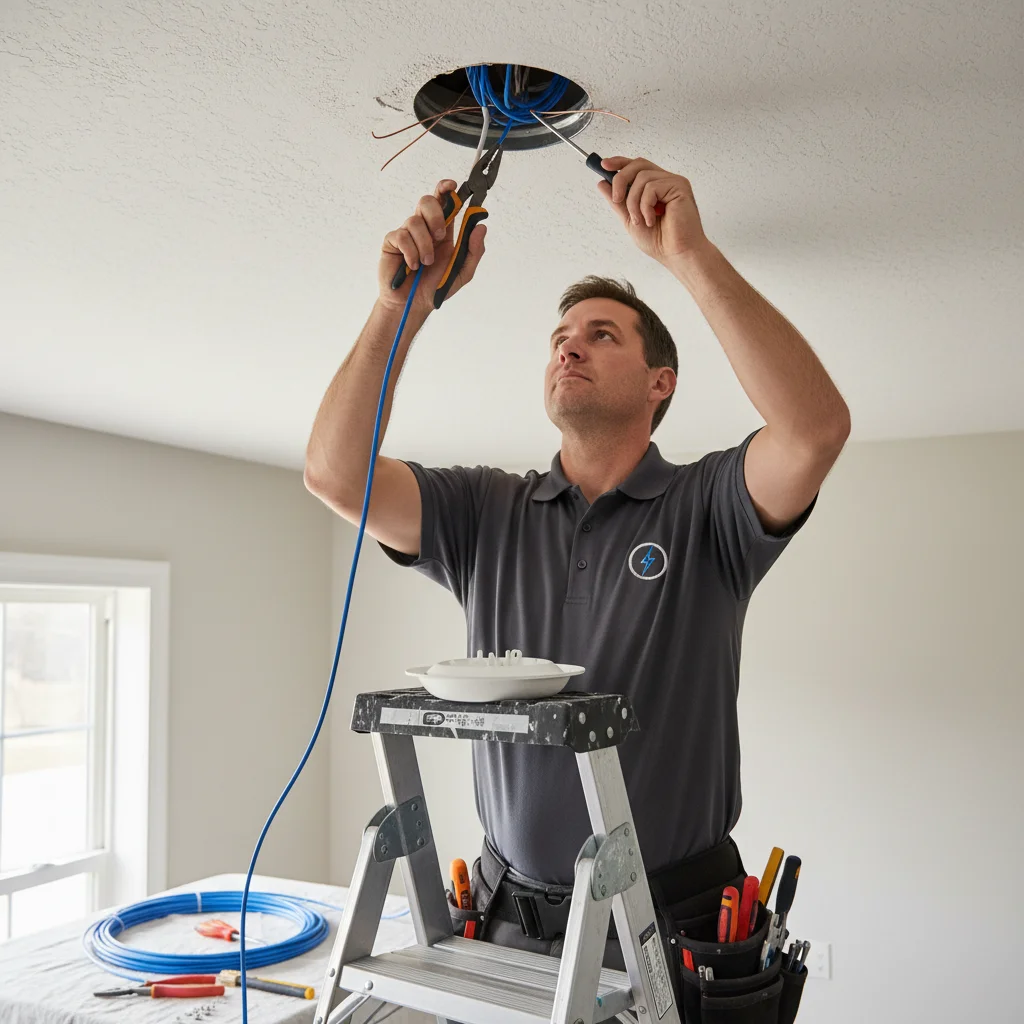
First, an electrician locates the nearest circuit, usually the kitchen lighting circuit or a general-purpose circuit depending on load. They trace a path from the panel or an existing junction point, run 14/2 or 12/2 Romex (depending on the circuit amperage) through the attic or wall cavity, and pull it to the ceiling location above the island.
At each pendant location, they cut a hole and install a listed ceiling box rated for fan or fixture support: a remodel box or a brace bar that expands between joists without opening the ceiling further. That box has to be rated for the weight of your pendant. Most standard pendants under 35 pounds are fine with a properly rated remodel box.
If you’re running three separate pendants, each gets its own box, or you use a multi-port canopy system that feeds from a single box with internal wiring channels. Your electrician will tell you which approach fits your fixture choice.
In California, this work requires a permit if you’re adding new wiring, not just swapping a fixture. The NEC/NFPA 70 standards govern box ratings and circuit requirements, and San Diego County inspectors follow them. A licensed electrician pulls the permit and handles the inspection. If someone offers to skip the permit to save money, that’s a red flag.
Our lighting installation service covers the full scope: rough-in, box installation, wiring, fixture hang, and inspection coordination.
Dimmer compatibility and LED flicker
You want a dimmer on your island pendants. Everyone does. Here’s the problem: not all LED bulbs play nicely with standard dimmers, and the result is a slow, maddening flicker, especially at low levels.
The fix is pairing a dimmer and bulb from the same compatibility list. Lutron and Leviton both publish tested LED compatibility lists on their websites. Before you buy bulbs, pull up your dimmer model number and confirm the bulb brand and wattage appear on that list. This isn’t optional if you want flicker-free performance.
For wattage: most pendant fixtures are rated for a 60-watt equivalent LED, which typically draws 8 to 10 actual watts. Three pendants on one dimmer circuit is a 24-to-30-watt actual load, well within a standard 15-amp circuit’s capacity. You’d have to hang a lot of pendants to approach any load concern.
Trailing-edge dimmers (also called ELV dimmers) tend to work better with LED drivers than leading-edge (TRIAC) dimmers. If you’ve already tried a standard dimmer and still get flicker, swapping to a trailing-edge model often solves it without changing bulbs.
One more thing: confirm your fixture is listed for enclosed or damp locations if it sits near the sink or over an island with a built-in sink. The California Energy Commission also recommends ENERGY STAR-rated LED fixtures for Title 24 compliance in kitchen remodels. Worth checking before you finalize your fixture choice.
If you’re interested in going further with smart lighting (scene presets, voice control, app-based scheduling), take a look at what we covered in our recessed lighting post for how smart switches layer in with standard wiring. If you’re also adding under-cabinet strips along the same kitchen run, our under-cabinet lighting installation guide covers driver placement and dimmer coordination before drywall closes.
What it costs to add island lighting in San Diego
Costs vary based on whether a junction box exists, how many pendants you’re running, and how far the electrician has to pull wire.
Fixture swap only (existing box, existing switch, just mounting new pendants): $150–$300 for labor. You supply the fixtures.
New junction box with attic access (straightforward wire pull, single run): $350–$600 per box, depending on run length and permit requirements.
No attic access, drywall cut-and-patch needed: add $200–$400 for the repair work, or plan to patch it yourself.
Three-pendant install with no existing wiring, new dedicated switch, permit included: $900–$1,500 is a realistic range in San Diego County as of 2026. Homes in coastal communities with older wiring or limited attic access tend toward the higher end.
Dimmer upgrades are usually $75–$150 per switch when done at the same time as the fixture install.
For chandelier and pendant installs elsewhere in the home, including high ceilings, our chandelier installation cost guide has the full price table.
These are real numbers, not padded estimates. Labor rates in San Diego reflect licensed electrician wages and the cost of doing the work to code. If a quote comes in at $200 for a full rough-in with permit, ask questions.
Frequently asked questions
How high should pendant lights hang over a kitchen island?
The standard rule is 30 to 36 inches above the countertop surface. On a standard 36-inch counter, that puts the bottom of the pendant between 66 and 72 inches off the finished floor. Thirty inches is the minimum for head clearance and to avoid glare at eye level. If your island has a breakfast bar where people sit on stools, push toward 34 to 36 inches above the counter so seated guests aren’t looking directly into the bulb.
How many pendant lights do I need over my kitchen island?
Island length drives the decision. Two pendants work well on islands 48 to 60 inches long. Three pendants are the classic choice for islands 60 to 84 inches. For islands longer than 84 inches, a linear bar fixture or four pendants typically covers the span better than three. Whatever the count, the combined visual width of the pendants should span roughly two-thirds of the island’s total length.
Does adding pendant lighting over a kitchen island require a permit in San Diego?
Only if new wiring is involved. Swapping a pendant onto an existing, properly installed junction box does not require a permit. But running new wire from the panel to a new ceiling box, which is the scenario in older San Diego homes with no existing overhead wiring above the island, requires a permit under the California Electrical Code. The permit triggers an inspection that confirms the box is rated for the fixture weight and the wiring meets code.
Why does my dimmer cause the LED pendants to flicker?
Most LED flicker issues come from a mismatch between the dimmer and the LED bulb. Standard TRIAC (leading-edge) dimmers work poorly with many LED drivers. The fix is checking your dimmer model against the manufacturer’s tested compatibility list (Lutron and Leviton both publish these), or switching to a trailing-edge (ELV) dimmer, which works better with the majority of LED fixtures. Confirm the match before buying bulbs rather than diagnosing it after installation.
When to call us
Any time you’re adding new wiring, relocating a junction box, or running a new circuit in San Diego County, that work needs a licensed electrician and a permit. Hanging a pendant on an existing box is a reasonable DIY job. Everything upstream of the box, the wire, the circuit, the box installation itself, is where code compliance and safety are on the line. Call us at (858) 988-5580 for a same-day estimate.